


The dress on the left was too short so I added some crochet lace layers to lengthen it...
I used size 3 crochet thread and a 3.5 mm hook. For me, this is very loose crochet.
Main body of sweater:

Here is the stitch used on the main body of the sweater....

First off, if you have the clothing you want the sweater to fit over, then use it for your base chain. The decorative stitch I am going to be using for the trim uses multiples of (12) +2 so while making the base chain, I counted to 12 then started again until it was the desired length then the +2 chains. For this step, it's better to go a bit big than small.

For this particular sweater, I only have measurements. Make sure that after 6 rows that it is still the right measurement and that the rows aren't pulling in tighter. This is difficult for me to remember to crochet so loosely. (I had to undo my first attempt and add another 12 chains because it pulled in an inch by the time I had rows done.)

After 6 rows, I add the sleeves. To figure out the sleeves, I find the center and mark it with a pin. Then I fold the sides over to almost meet in the center and mark the sides with pins. Then I count stitches to make sure it's all symetircal. The base chain for the sleeves is a few stitches less than half the entire length. Again, the trim stitch is multiples of (12) so I had to plan accordingly. This time, it's better to go a bit small than big. I only work 3 rows on the sleeves. Even though they're worked in the round, remember to turn the rows.

Here are the sleeves done so far. I laid them out this way to show you how long they should be.

Attaching the sleeves....
Right sides together.. put the hook through both layers - the sweater and the sleeve and work the SC. Chain 1 then go on with the stitch. You only attach the sleeve with one stitch on this row.

...the attached sleeve and working on ...

Here are both sleeves attached. Work to the end as usual and turn as usual.

When you get back to the sleeve, the chain right before the stitch that joins the sleeve, draw yarn through.

...like this...

now see the chain 1 on the other side of the joining stitch going up the sleeve? Draw up yarn here too.

...like this...

yarn over and draw hook through all three loops on hook like this. You just did a stitch reduce.

chain 1 and continue on around the sleeve... when you get to the other "corner" work the stitch reduce.

See the arrows? They are pointing to the chain 1 on either side of the stitch reduce. This is where you will do the stitch reduce on the next row...

Here is the sleeve so far... You can see that it gets progressively smaller as you work the rows.

Now it's time for the trim at the neck.

First, I switch to a smaller hook: 2.5 mm. and do a single crochet all the way around.

At the corners, do the stitch reduce the same way:
with the chain 1 space on either side of the previous stitch reduce..
Neck:

All done with the single crochet row.

Now is where you have to get creative... In order for the stitches to line up with the corners like I wanted, I had to do 3 double crochet at the beginning of this row and at the end. Thankfully, the other corners lined up properly.

Here you can see how I worked the corners.

For this row, I did a single crochet on top of the double crochet from the last row then chain 2... a repeat of the last row only with single crochet rather than double crochet. Here is the corner... I worked a stitch reduce through the spaces and stitches of the corners...

... like this...

done with that row...

... the next row...

I had to get creative again because there weren't the right number of spaces on the back for the pattern to work. I had to add this little space in the center back to make the corners work.
If anyone wants the chart for the stitches I used for the neck, let me know.. You can use any stitch you want, it just can be a little tricky to make it work.

Turn the sweater up-side-down and with the 2.5 mm hook single crochet across the bottom.

Here is the bottom trim all done. This is the front.
Finishing the front edges:
Now turn the sweater and single crochet up the side...

all the way to the top.

Turn it around and now do a slip stitch on the back side down to the bottom.

Like this.

Turn it one more time and slip stitch back up to the top. This makes this edge sturdier.

Like this.
Adding the button:
Do the same for the other side... single crochet down the front, slip stitch up the back, then slip stitch down the front again. Near the top attach the button. You can see the red thread I used to pull the loop through the button.
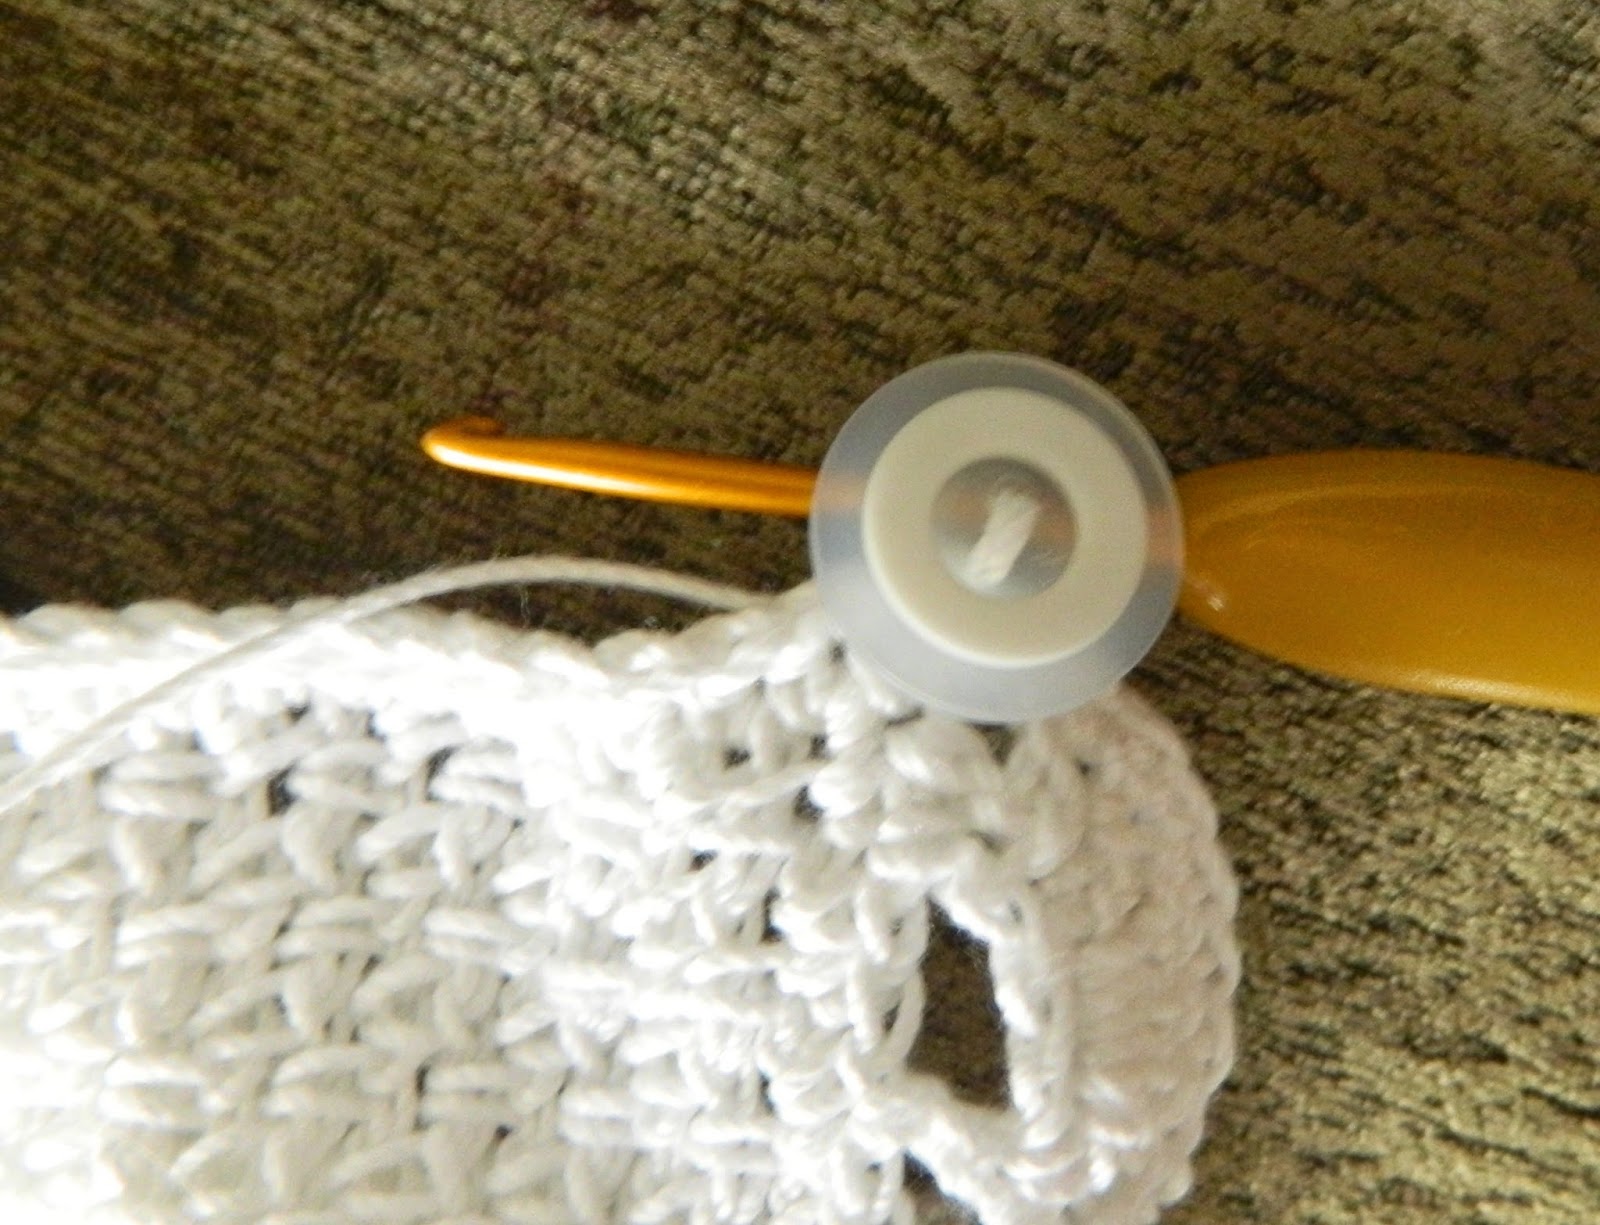
Put the hook in the loop then pull it up against the button.

Continue slip stitching down the front.

...like this...

Because I forgot to do the button hole on the other side, I get to add it now. I attached the yarn right up next to the last stitch on this side. then I slip stitched down a few spaces then did a tight chain 10 then slip stitched in in the same stitch then worked back up and finished it all off...

Here's the button through the button hole.
oh, here's the stitch I used for the trim.


The measuring tape shows how long the sleeves need to be... using this type of tape measure makes it easy to determine how much needs to be added to the sleeves...

without moving the tape measure just retract the end to the edge of the sleeve... I need to add 15" to the sleeve. I also need to reduce it by two sections..(Does that make sense?)

Start the sleeve the same way as the trim around the bottom... single crochet around with the 2.5 mm hook. This picture looks up-side down to me...

And, finally, it is all done... I hope it fits!
Normally, I work short sleeves. For that you'd only work a couple of rows on the sleeves.

Here is a picture of the sleeve where I did the stitch reduce. It's really hard to tell where it is but there is one row that you can identify if you look.... = )
This is the underside of the arm, where a seam would typically be.

This is the diagram of how I reduced the stitch pattern by one over 7 (or 9) rows....
The first four rows shown are the regular stitch diagram. The arrow is pointing to the first reduced section. I I reduced the sleeves by 2 sections with one regular section in-between.